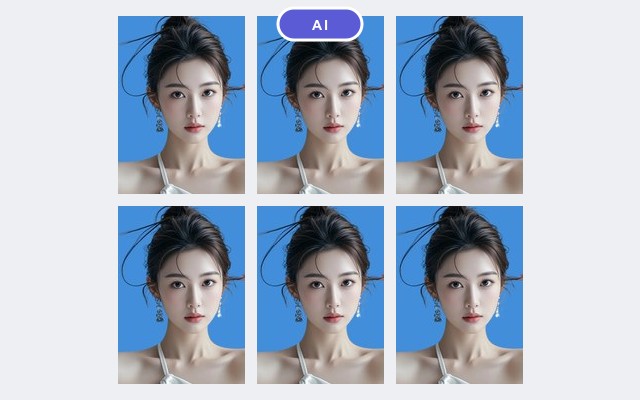
Visa applications, exam registrations, job onboarding — sooner or later everyone needs a compliant ID photo, and always at the worst possible time. A photo studio charges $10-30, takes a day, and if the size or background is off by a hair, you do it all over again.
Here is the good news: if you have a phone and one decent portrait photo, you can produce a print-ready, spec-compliant ID photo in about three minutes with PixDeep's AI ID Photo tool. This walkthrough uses a real example, end to end.
What you'll need
- One portrait photo: face the camera, no hat, neutral expression. A phone selfie at eye level works fine
- Any modern browser — everything runs client-side except the background cutout
Step 1 — Upload your portrait
Drop in any ordinary portrait. This is the one used in this tutorial:

Don't worry about the background, the lighting or the outfit. The tool only needs your face; everything else gets replaced.
Step 2 — AI cuts out the background
Click Create ID photo. The server removes the background automatically and returns a clean cutout of you.
One thing worth knowing: your face is never altered. The tool only removes the background — it does not retouch, beautify or regenerate facial features. That matters, because visa and exam authorities compare your photo against your actual face; AI-modified faces are a common reason photos get rejected.
Step 3 — Align with the guides
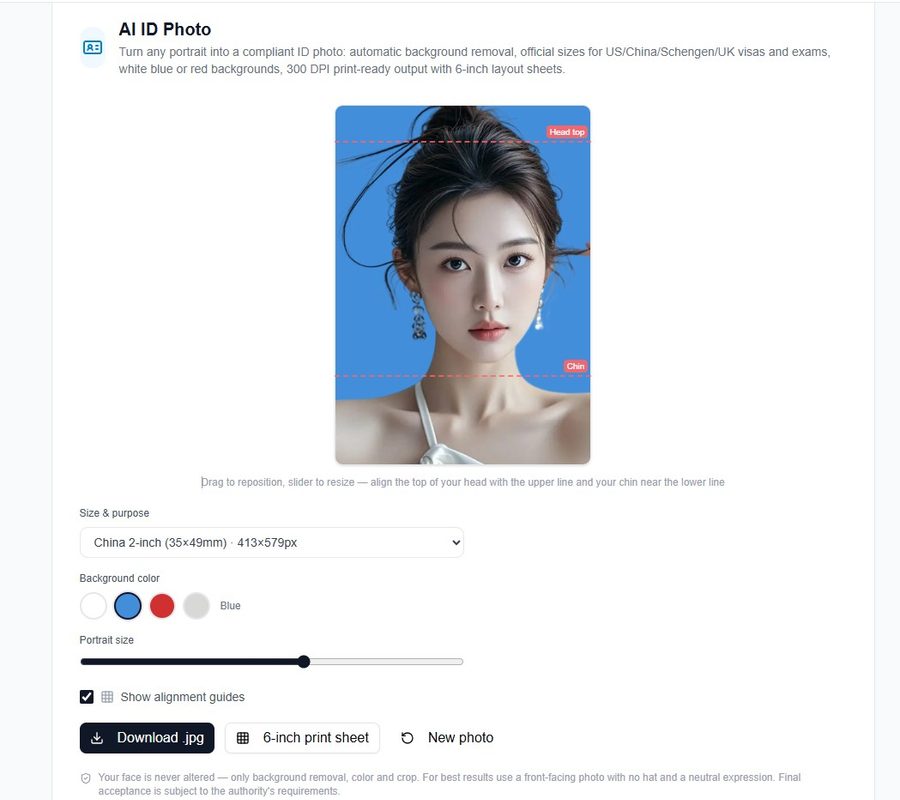
The editor overlays two dashed lines: align the top of your head with the upper line and keep your chin near the lower one. Drag to reposition, use the slider to resize.
This is also where you pick the official size — 10 presets are built in, from US passport (2×2 in / 600×600 px) to China visa (33×48mm), Schengen (35×45mm), Japan (45×45mm) and Chinese exam registrations (3:4):
Step 4 — Choose the background color
White, blue, red or light gray — one click. Different authorities want different colors (Chinese visa photos use white, Chinese one-inch photos often blue or red, UK passports prefer light gray), so you can switch freely until it matches your requirement. Switching colors never costs extra.
Step 5 — Download, or print a full sheet
Hit Download .jpg for a single photo at 300 DPI — crisp enough for 2-inch prints and for most online uploads.
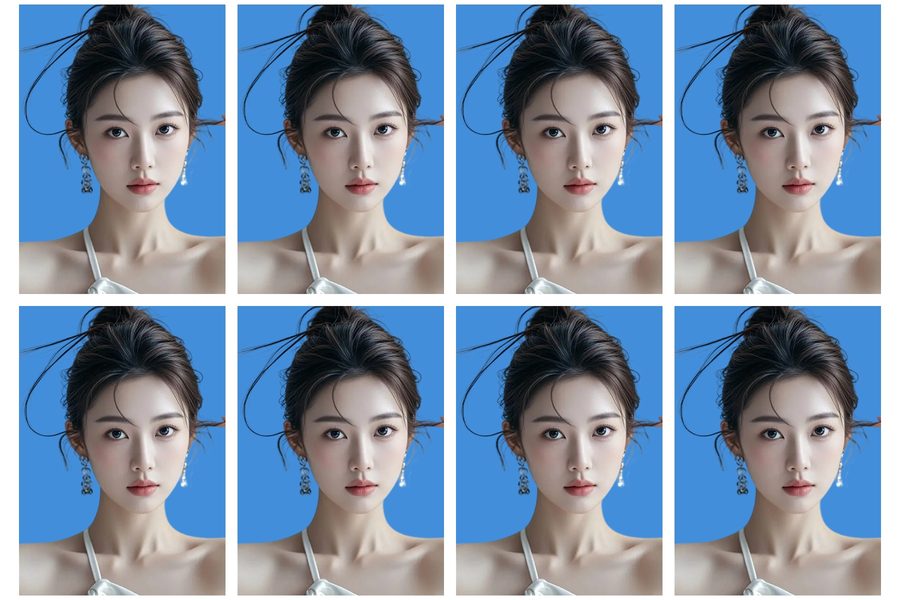
For physical prints, click 6-inch print sheet: the tool lays your photo out on a 6×4 inch sheet (1800×1200 px) with 2mm gutters, ready for any print shop to slice. One sheet of 2-inch photos looks like this:
That's it — no studio, no appointment, no second trip.
Official size cheat sheet
| Purpose | Size | Pixels (300 DPI) | Default background |
|---|---|---|---|
| US Passport & Visa | 2×2 in | 600×600 | White |
| China Visa / Passport | 33×48mm | 390×567 | White |
| China 1-inch | 25×35mm | 295×413 | Blue |
| China 2-inch | 35×49mm | 413×579 | Blue |
| China Exam Registration (考研/教资) | 3:4 | 295×393 | White |
| Schengen Visa | 35×45mm | 413×531 | White |
| UK Passport | 35×45mm | 413×531 | Light gray |
| Canada Visa | 50×70mm | 591×827 | White |
| Japan Visa | 45×45mm | 531×531 | White |
| Australia Visa | 35×45mm | 413×531 | White |
FAQ
Is the photo compliant? The tool follows the physical specs (size, ratio, background color, head position) and never modifies your face — the two things that get photos rejected most often. Final acceptance always rests with the issuing authority, so double-check their latest requirements.
How much does it cost? 3 credits per photo — and only once. Switching sizes, background colors, repositioning and re-downloading afterwards are all free.
Can I use a selfie? Yes, if it's taken straight on at eye level with even lighting. Avoid extreme angles — the head-position guides assume a front-facing portrait.
What image formats work? JPEG, PNG and WebP up to 10MB.
Does my photo get stored? The upload is processed for the background cutout; the composite rendering happens locally in your browser.
Ready to try it? Make your ID photo now →