Photographing a document is easy. Getting it to look like a scan is the annoying part: the paper comes out gray, the corners pick up a yellow cast from indoor lighting, and one side is always darker than the other. Email that to a client and it reads as careless. Print it and you burn toner on the background.
The fix is not a brightness slider. This guide shows what actually works — pulling the estimated paper brightness back to white, pixel by pixel — using PixDeep's Document Cleanup tool. It is free, unlimited, and runs entirely in your browser; the photo never leaves your device.
What you'll need
- A photo or scan of a document: JPG, PNG or WebP, up to 20MB
- Any modern browser
Step 1 — Upload the document photo
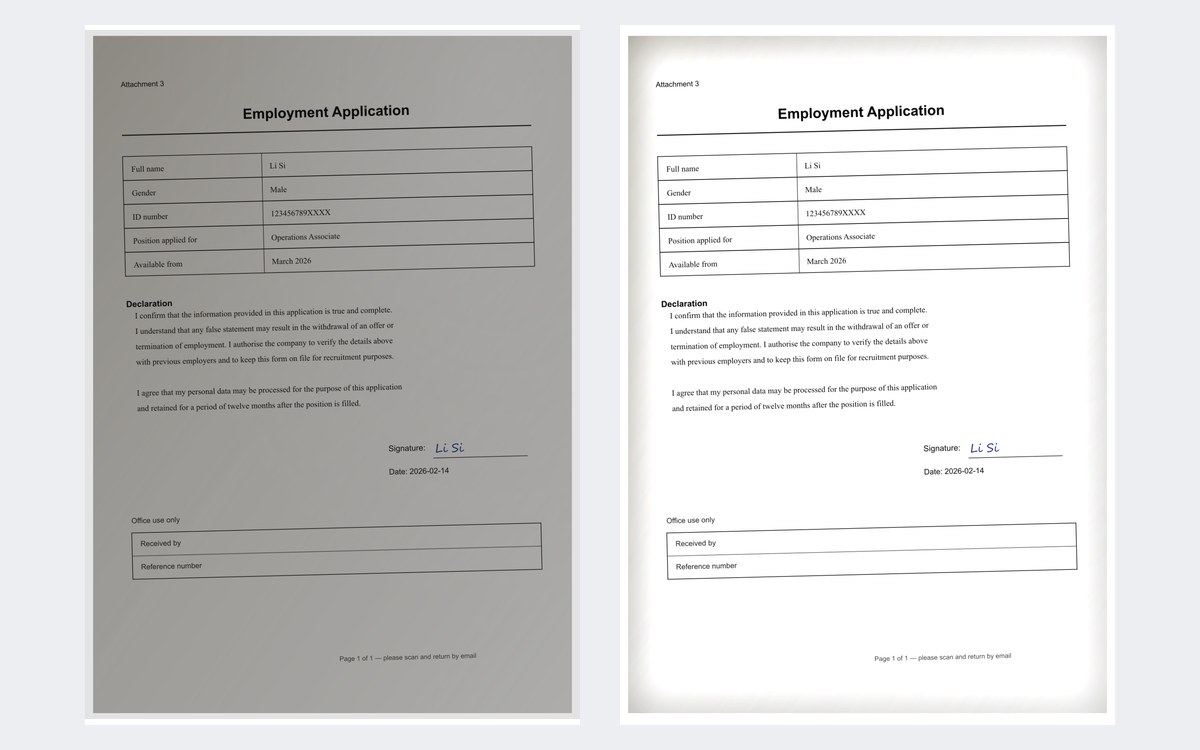
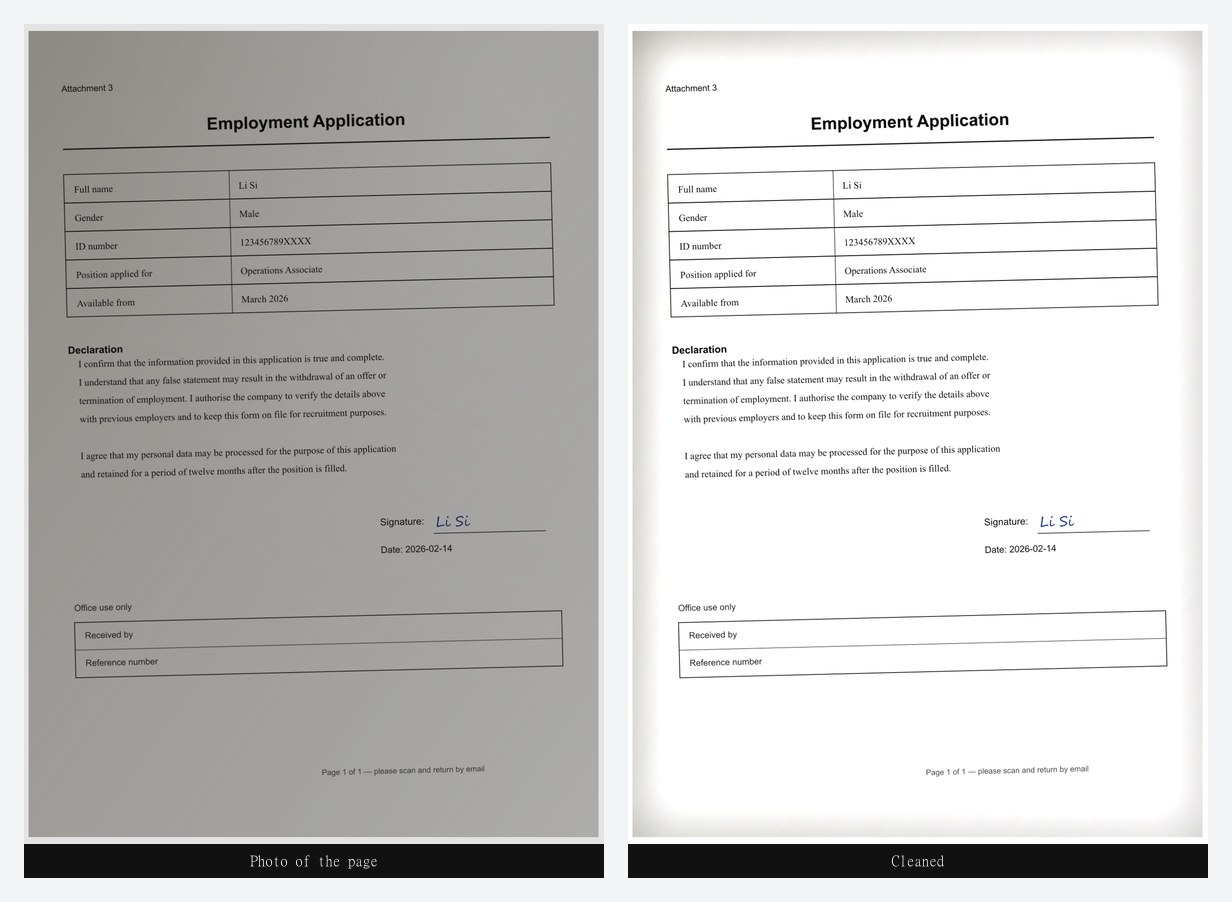
This is the "before" used throughout the guide: an ordinary photo of a printed form, shot under indoor light. Gray paper, warm cast on the left, a soft shadow across the top.
Step 2 — Pick an output mode
Three modes, and the right one depends on what the document is for:
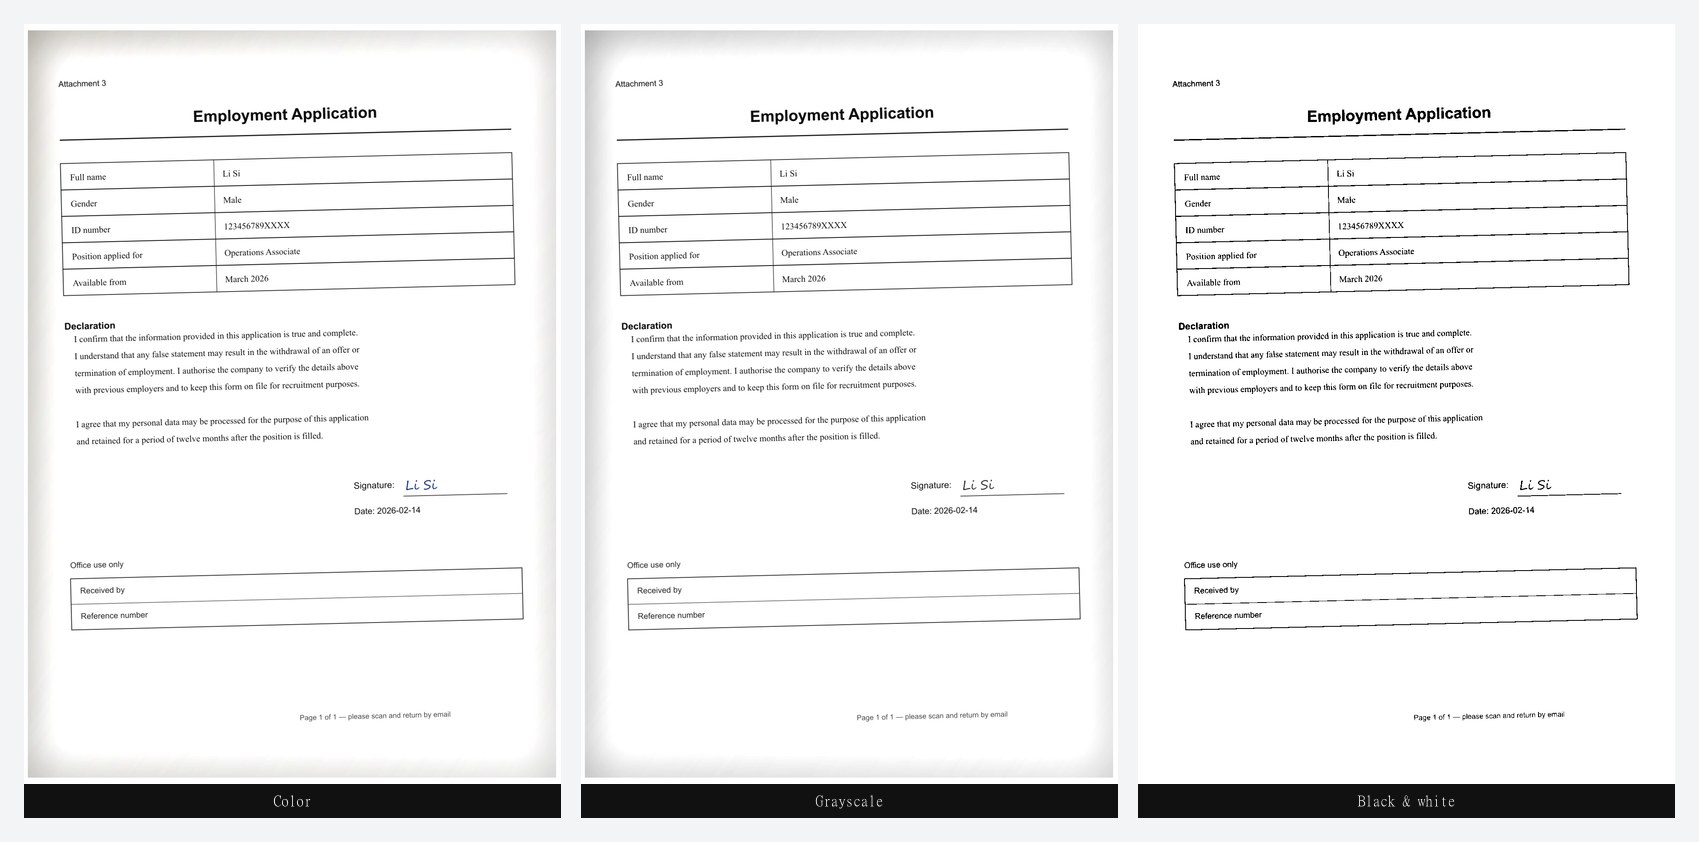
- Color — keeps the original colors while whitening the paper. Use it when the page has a blue signature, a red stamp or a company logo that must survive
- Grayscale — neutral gray text on white. The safest general-purpose choice for contracts, forms and reports
- Black & white — Otsu-thresholded pure black on pure white. Smallest file, least ink, best for OCR and for attaching to an application form
Step 3 — Fine-tune two sliders
- Background strength — how aggressively the paper is flattened. Push it up when the lighting is uneven or the paper is textured; pull it down if faint pencil marks start disappearing
- Text darkening — a gamma curve applied after whitening. It deepens the letters without touching the (already white) paper
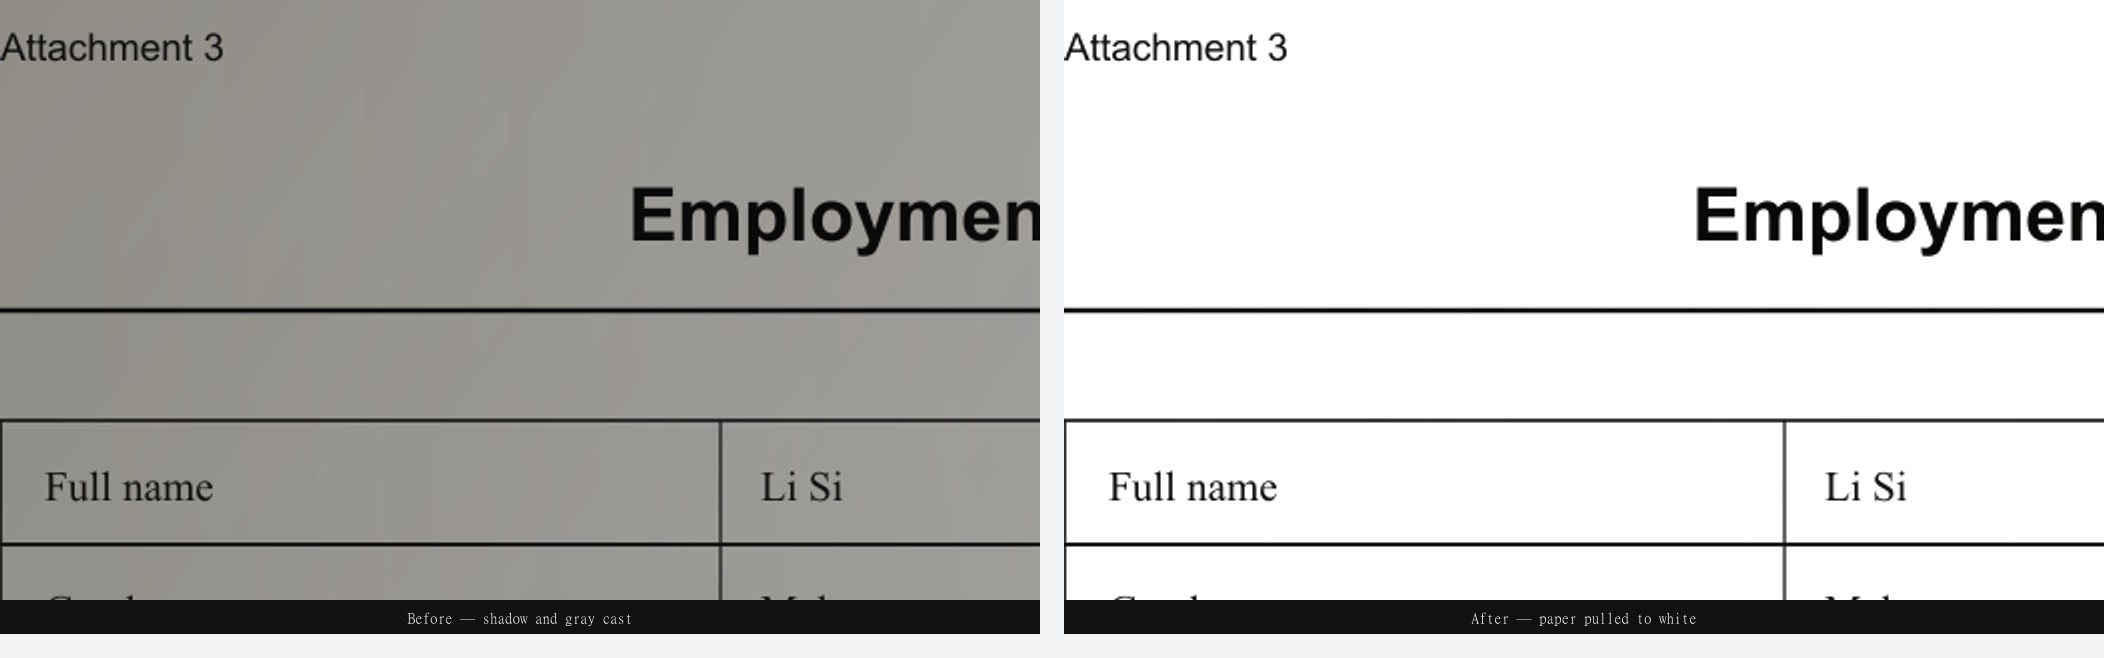
Here is what it looks like at 2× zoom — left is the raw photo, right is after cleanup, same crop:
Step 4 — Download
One click gives you the cleaned image at its original resolution. From there it drops straight into an email, a chat thread, or a PDF.
Why brightness and contrast can't do this
This is the part most "scan enhancer" tools get wrong. A global curve — brighten, then raise contrast — has no idea where the paper is. It lifts the shadowed corner and the well-lit corner by the same amount, so the shadow either stays visible or the text washes out with it.
Document cleanup works differently. It first estimates a paper-brightness map: the image is downscaled, dark strokes are removed with a morphological closing, and what remains is smoothed into a soft field describing "how bright the paper is here". Then every pixel is divided by that local estimate. Paper hits white everywhere, whatever the lighting did, while letters stay dark because the estimate around them was brighter. A final curve clips residual noise and deepens the text.
In plain terms: it corrects lighting locally, which is why one pass fixes a shadow that a contrast slider never will.
Which mode should you use?
| Document | Mode | Why |
|---|---|---|
| Signed contract, stamped invoice | Color | Keeps the signature and stamp intact |
| Application form, report, school work | Grayscale | Clean and neutral, small file |
| Anything going into OCR or a scanner app | Black & white | Maximum contrast, no gray noise |
| Old, yellowed paper | Color or Grayscale + high strength | Removes the age tint without killing the text |
Tips for a cleaner "scan"
- Fill the frame. Crop to the page edges first — the crop tool takes a few seconds, and less background means less to correct
- Avoid flash. Flash creates a bright hot spot that no cleanup can fully recover
- Shoot straight down. A few degrees of tilt is fine for cleanup, but straight makes the text sharper
- Shoot at full resolution. Cleanup does not upscale; a 12MP photo stays a 12MP document
- Going to PDF? Clean the image first, then use image to PDF — and if the file must be small, run compress PDF afterwards
What people use it for
Expense reports and receipts that need to be readable in an email; homework and worksheets photographed on a kitchen table; contracts signed on paper and returned the same day; ID documents and certificates for online applications; and any photo destined for OCR, where gray paper directly hurts recognition accuracy.
FAQ
Is it free? Yes — free and unlimited, no account, no watermark. The whole pipeline runs in your browser, so there is no per-image cost to pass on.
Does my document get uploaded? No. The image is read locally by your browser and never sent to a server.
Will it work on yellowed or aged paper? Yes. The color cast is treated as part of the lighting estimate, so aged paper comes out white; the text keeps its shape. Very faded ink may need a lower background strength.
Does it destroy signatures or stamps? In Color mode, no — they are preserved, just on a whiter page. That is the main reason to use Color instead of Black & white for signed documents.
What is the size limit? 20MB per image. A 20-megapixel photo takes a couple of seconds; a normal 1000×700 scan is done in a fraction of a second.
Ready to try it? Clean up your document now →